By now, you may have acquired your first hive and are wondering, How do I know if my hive is healthy? and What should I look for during my routine hive inspections? Let’s dive into the key steps to assess the health and vitality of your honeybee colony.
Step 1: Observing the Entrance
Before opening the hive, start with an external inspection at the entrance. This is your first indication of hive strength. Here’s what to look for:
-
Forager Activity: Are plenty of bees flying in and out? A busy entrance suggests a productive colony bringing in nectar and pollen.
-
Guard Bees: Do you see bees stationed at the front? These sentinels are your hive’s first line of defence.
Keep in mind that hive activity varies throughout the day. Conduct multiple observations at different times to get a full picture. Peak activity often aligns with sunny weather.
Step 2: Opening the Hive
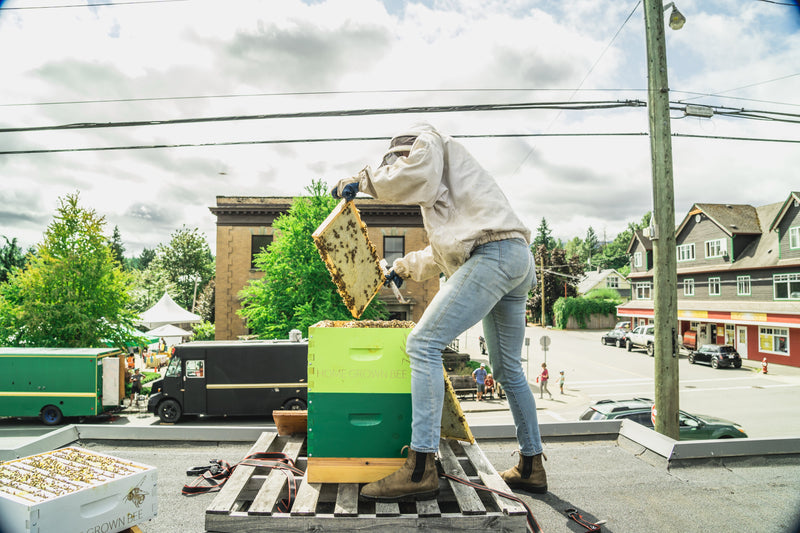
Once you’re ready, open the hive by removing the hive top and inner cover. One of the most delightful signs of a healthy hive is seeing curious honeybees peering up at you from between the frames. Their calm, non-aggressive demeanour often indicates that the queen is present and the colony is content.
Tips for Handling Frames:
- Start by removing a frame from the outer edge to create some room to maneuver.
- Check this frame for the queen. If she’s not present, set the frame aside using frame holders or place it gently on the ground.
- Move toward the center frames, where you’ll typically find the brood.
Step 3: Inspecting the Brood and Frames
The heart of the hive’s health lies in the brood area. Here’s what to look for as you inspect each frame:
-
Brood Pattern: Healthy hives display a consistent brood pattern, especially on frames with capped brood. A spotty pattern might signal a struggling or diseased colony.
-
Eggs and Larvae: Hold frames up to the sunlight and look into the bottom of the cells. You should see tiny eggs and white, plump larvae swimming in royal jelly. Any discolored or dry larvae may indicate disease.
-
Pollen and Honey Stores: Healthy hives contain a variety of pollen colors, nectar, and capped honey on the outer frames.
Reminder:
Ensure there’s enough room for the colony to grow. Crowding can lead to swarming or hinder productivity.
Step 4: Reassembling the Hive
When you’re finished inspecting:
- Return the frames to their original positions.
- Push the frames tightly together. This preserves the perfect "bee space," minimizing extra comb and keeping future inspections tidy.
- Replace the inner cover and hive top.
Step 5: Watch for Signs of Disease
Bee colonies can be vulnerable to various diseases. Common indicators of trouble include:
-
Spotty brood patterns
-
Discoloured or dried-out larvae
-
Unusual smells or excessive debris in the hive
If you suspect disease, don’t hesitate to contact your local apiary inspector. These experts offer free, invaluable guidance to help safeguard your bees. Find your local inspector here: BC Apiary Inspectors.
Final Thoughts
A good beekeeper is a knowledgeable beekeeper! Routine inspections not only ensure the health of your hive but also deepen your understanding of these incredible creatures. If you have questions or concerns, don’t hesitate to reach out—we’re here to help.
Happy beekeeping!